The first shift of a new press felt establishes more than a start-up record. It is the best chance to catch an installation error, shower problem, vacuum leak, or uneven loading before it becomes a damaged felt or an unstable moisture profile.
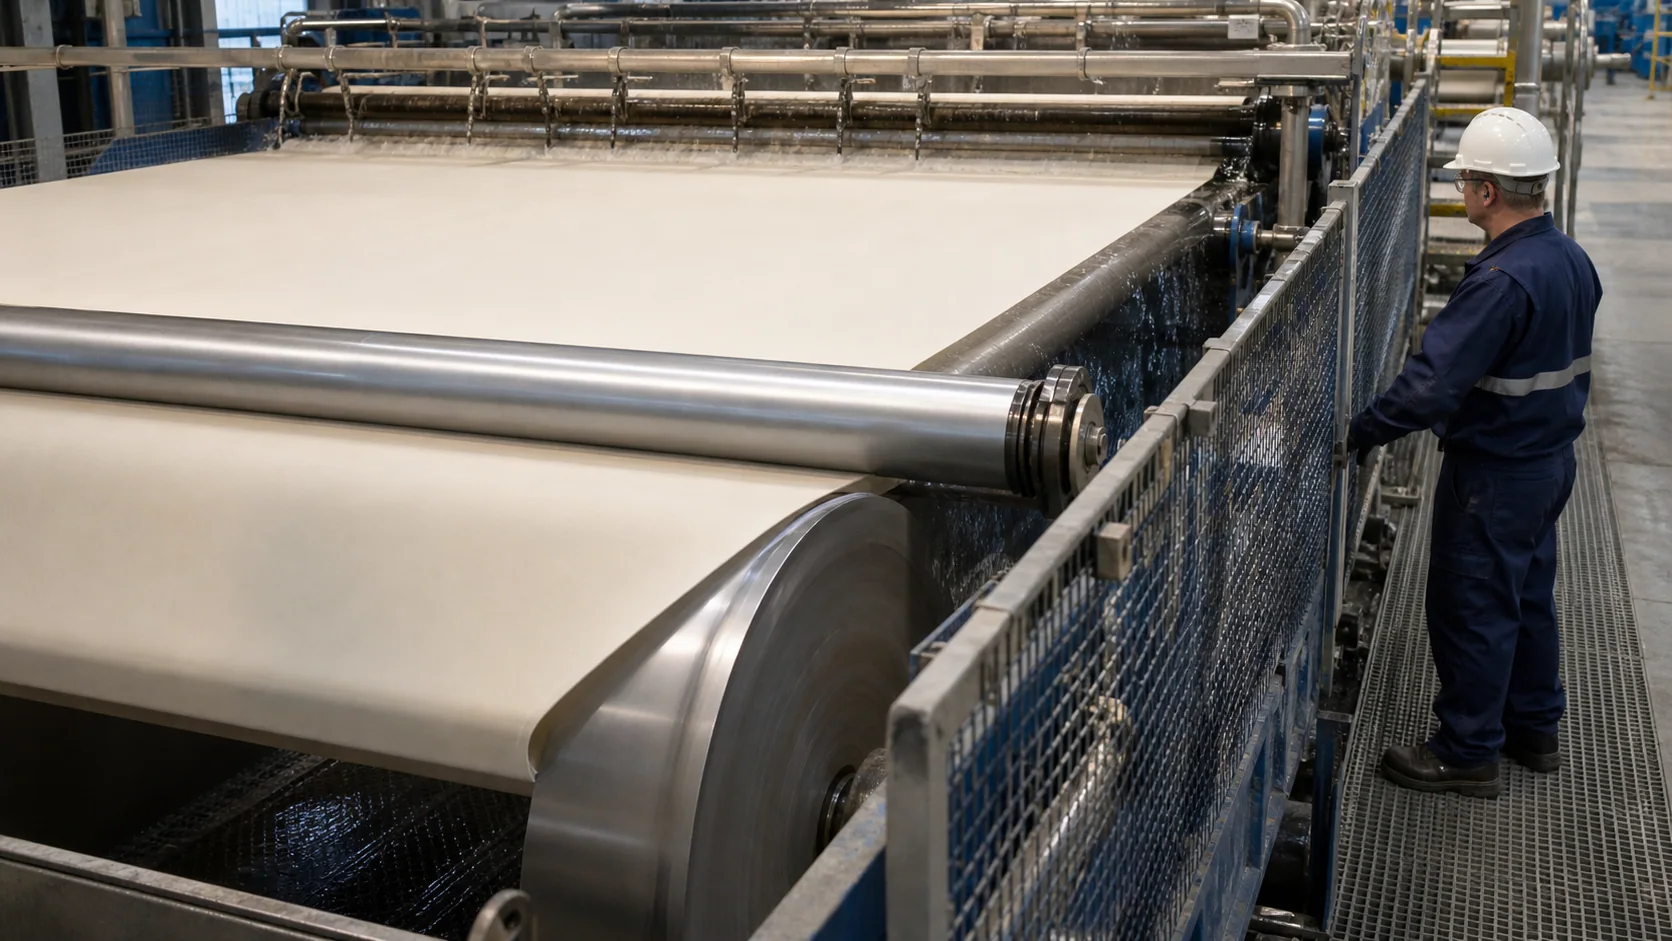
Before the Machine Turns
Confirm the felt code, position, running direction, dimensions, and seam or pin condition against the installation sheet. Check that no packing material, wire, tools, or sharp fasteners remain inside the loop. The felt should sit correctly on every roll without folding at an edge.
Walk the complete path and inspect roll surfaces, doctors, uhle box covers, shower pipes, savealls, guide palms, and edge clearances. A new press felt cannot compensate for a damaged cover or blocked shower nozzle.
Wet Evenly and Watch the Edges
Use the mill’s approved wetting procedure and clean water. The aim is even saturation across the width, not simply a large volume of water in one area. Uneven wetting can temporarily distort tension, guiding, and water handling.
At crawl speed, watch both edges and all accessible rolls from safe observation points. Confirm that the guide responds without repeated large corrections. Stop and investigate if an edge folds, contacts a frame, or moves beyond the normal guide range.
Build Speed and Load in Controlled Steps
The exact sequence must follow the press design, felt specification, and mill procedure. As speed and nip load increase, hold each step long enough to observe drive load, guiding, vibration, shower coverage, vacuum, and discharged water.
Do not use a temporary dryness loss as the only reason to increase nip load. A new felt is still establishing its working structure and water balance. Excess load can compact the felt before the conditioning system is stable.
First-Shift Observation Sheet
| Item | What to record | What deserves attention |
| --- | --- | --- |
| Felt guiding | Correction frequency and edge position | Repeated correction in one direction |
| Drive load | Value at each speed/load step | Sudden rise or side-to-side difference |
| Uhle box vacuum | Vacuum and water removal | Unstable reading, leakage, or dry streak |
| Shower system | Pressure and visible coverage | Blocked nozzle or uneven impact |
| Sheet dryness | Before and after press | Trend that does not stabilize |
| Felt surface | Streaks, wrinkles, vibration | Persistent cross-machine variation |
Record the time of every operating change. Without timestamps, it is difficult to tell whether a reading changed because of the felt, furnish, speed, steam, or a control adjustment.
Condition the Felt, Do Not Over-Clean It
High-pressure showers, lubrication water, chemicals, and uhle box vacuum must work as a system. More pressure or more vacuum is not automatically better. Excessive settings may drive contaminants deeper, increase drag, or accelerate cover and felt wear.
Review nozzle condition and vacuum cover contact early in the run. The detailed checks in Press Felt Conditioning: Shower, Vacuum, and Uhle Box Optimization can be used as the follow-up inspection list.
Establish the Stable Baseline
Once the machine is producing saleable paper under steady conditions, save a baseline for the same grade and speed. Include felt running hours, nip load, sheet dryness, drive load, vacuum, shower settings, tension, and moisture profile.
This baseline is more useful than a generic target from another machine. During the following days, compare like with like: the same grade, similar basis weight, and comparable operating conditions.
If the New Felt Does Not Settle
Do not keep changing several variables at once. Separate mechanical, hydraulic, and furnish causes. Verify installation direction and dimensions; inspect showers and vacuum; confirm load calibration and roll condition; then review furnish, chemicals, and grade changes.
Photographs of the felt surface and edges, together with timestamped process data, allow the mill and supplier to make a much faster assessment than a short message saying the felt “does not run well.”
Practical Takeaway
A controlled start-up protects the felt and produces a reliable performance baseline. Verify the path, wet evenly, increase operating conditions in planned steps, and document the first stable production period before making major adjustments.


