Good installation is the first step in good paper machine clothing performance. Many early-life problems are not caused by the fabric itself but by preventable installation damage, uneven tension, wrong running direction, or machine preparation issues.
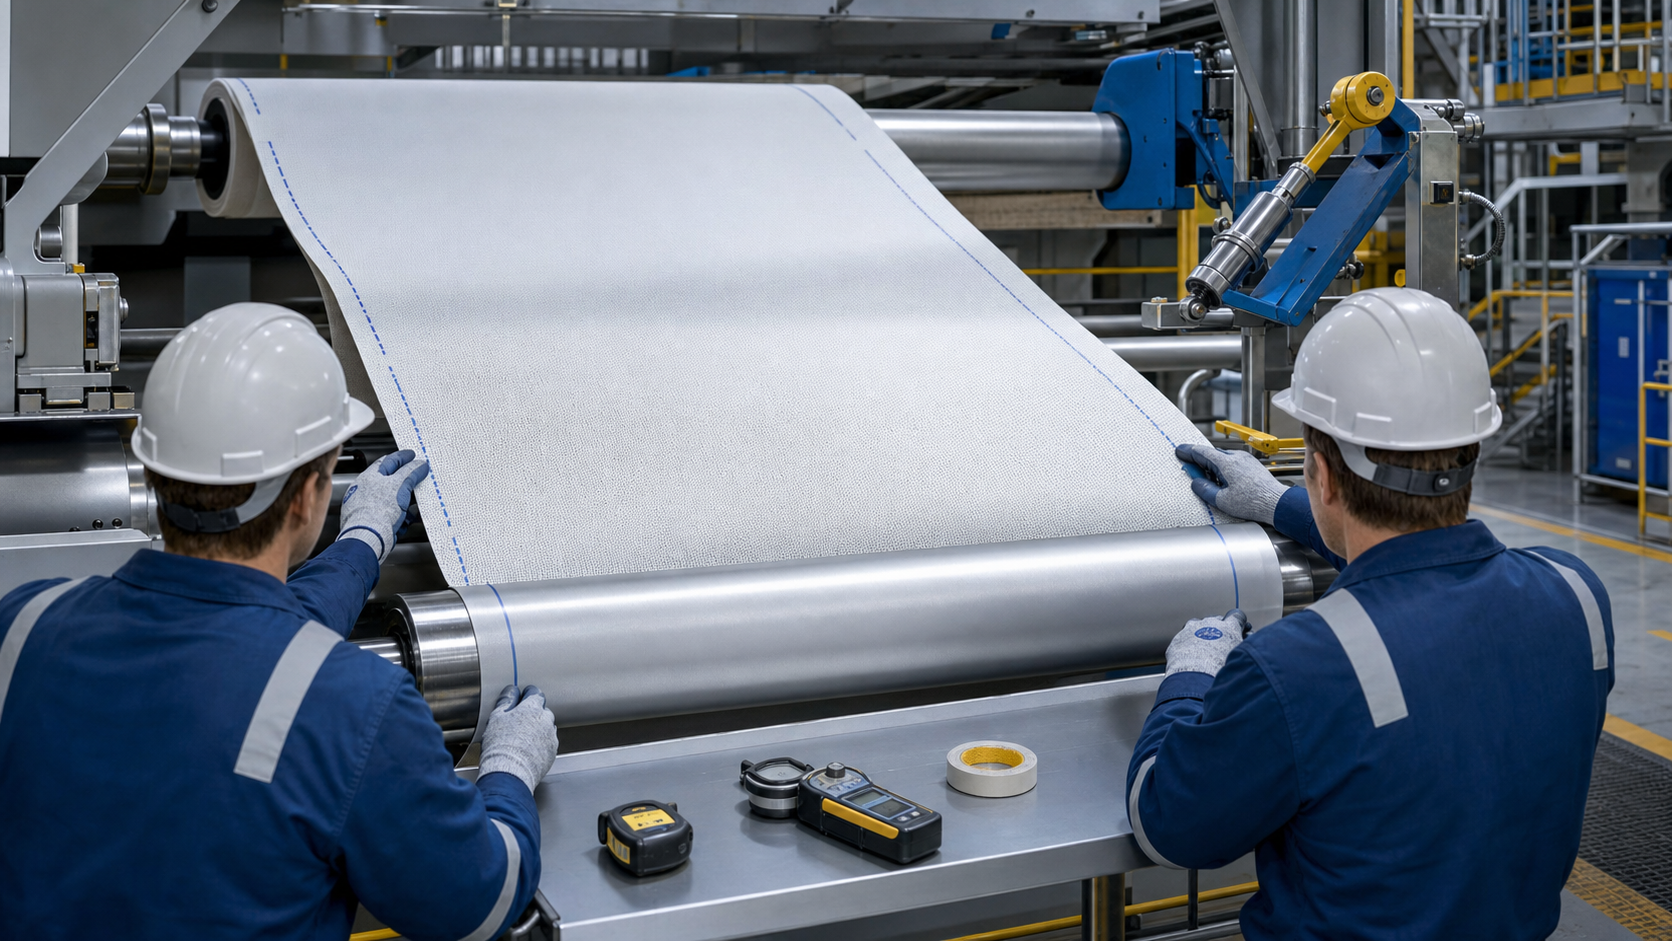
Before Installation
Before opening the new fabric, confirm the specification, width, length, seam type, running direction, and machine position. Keep the fabric clean, dry, and supported. Do not drag edges across sharp frames or rough floor surfaces.
For a full overview of product types, see our guide to paper machine clothing.
Machine Preparation Checklist
| Area | Check Point |
| --- | --- |
| Rolls | Clean surface, no burrs, no abnormal coating damage |
| Doctors and seals | Proper clearance, no sharp contact point |
| Showers | Correct position, clean nozzles, stable pressure |
| Vacuum boxes | Smooth covers, no broken edges, correct alignment |
| Guides | Sensor and actuator response confirmed |
| Safety | Lockout, lifting tools, and team communication ready |
During Installation
Keep the loop square and avoid twisting. Pull evenly across the width and protect the edges. For seamed products, keep the seam area clean and follow the supplier's joining sequence.
Build tension gradually. A sudden jump to final tension can create wrinkles, edge stress, or uneven load distribution.
First Start-Up
Start slowly and watch the fabric path before increasing speed. Confirm that the fabric stays centered, the guide system responds smoothly, and there is no rubbing against frames, seals, or stationary covers.
Record initial speed, tension, shower pressure, vacuum, and any corrective actions. This start-up record becomes the baseline for future troubleshooting.
Product-Specific Notes
- Forming fabric: check drainage elements, edge showers, and tracking under vacuum.
- Press felt: confirm shower and uhle box setup before loading the nip.
- Dryer fabric: check seam passage, cylinder surface, pocket ventilation, and tension.
Practical Takeaway
A careful installation process costs less than one early fabric failure. Treat installation as a controlled technical procedure, not only a maintenance task.


